Personalized From Start to Finish
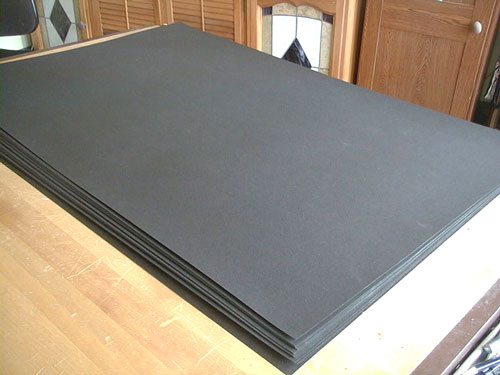
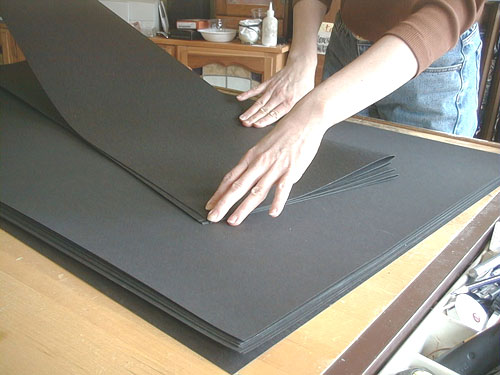
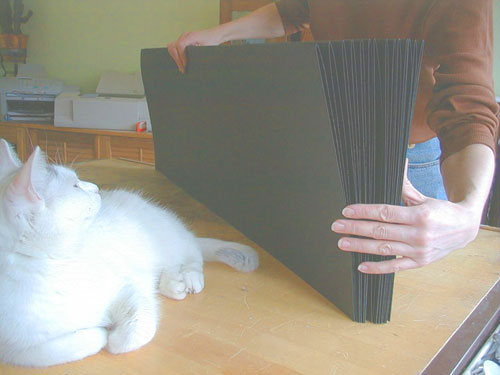
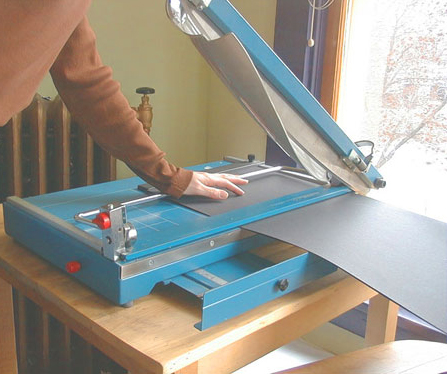
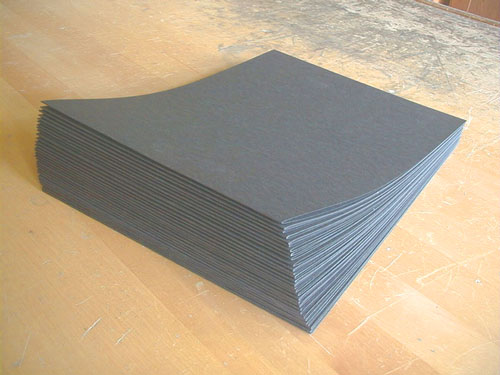
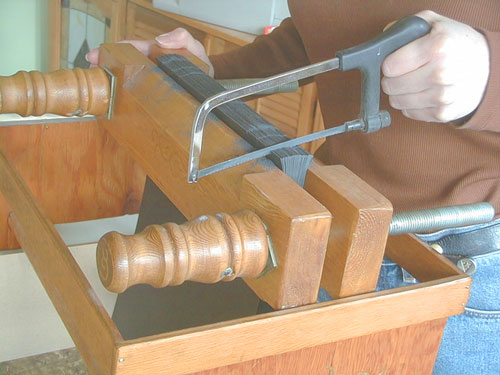
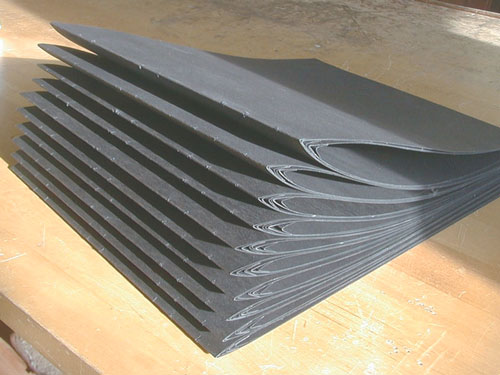
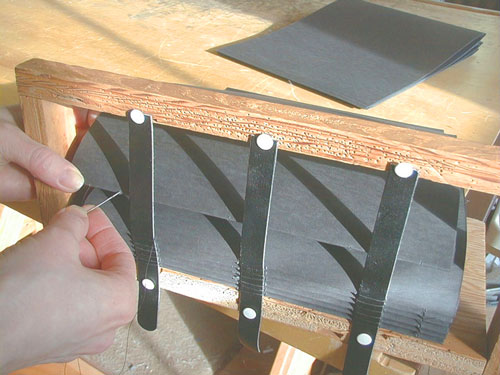
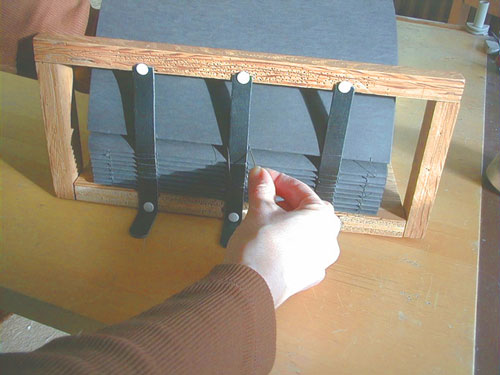
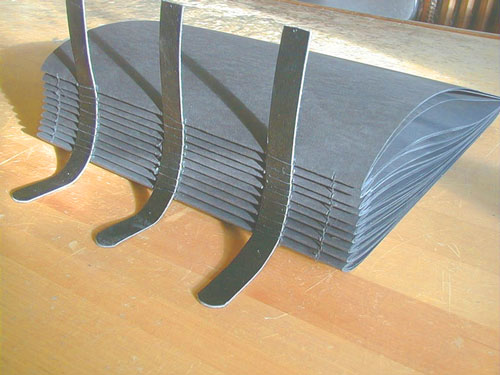
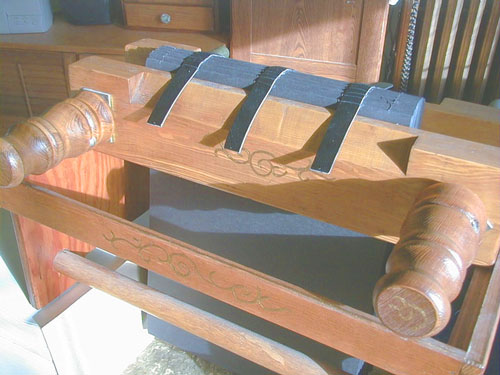
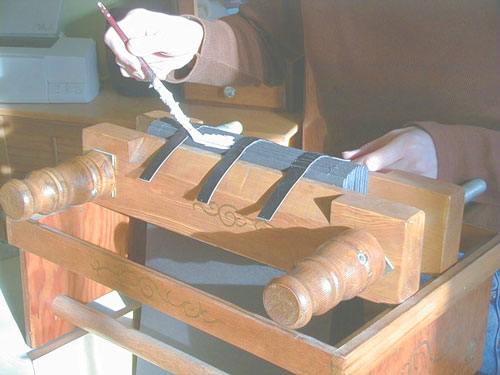
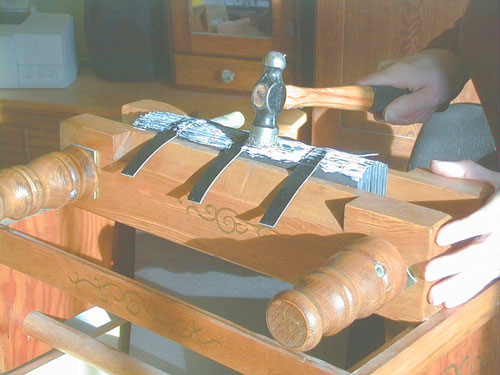
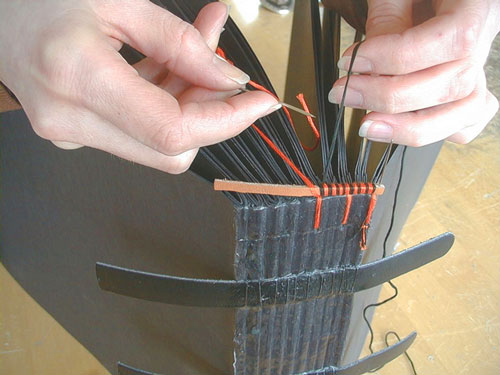
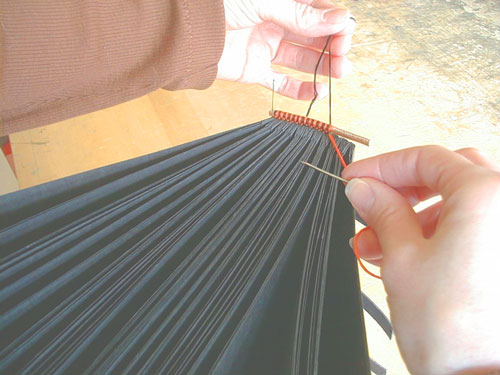
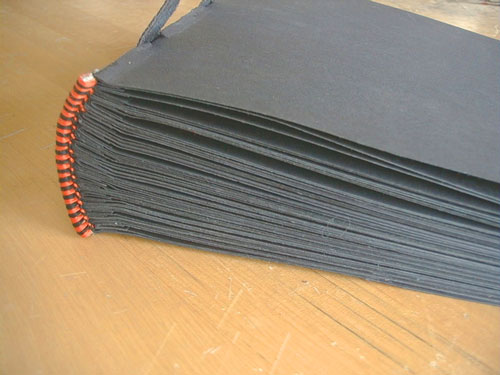
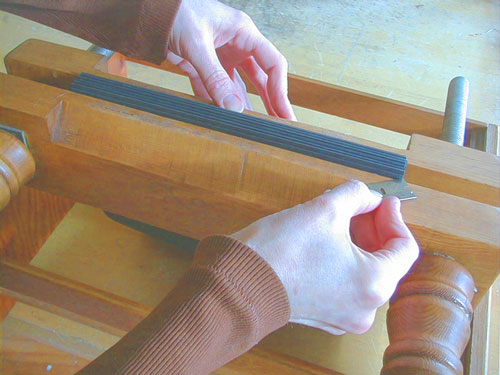
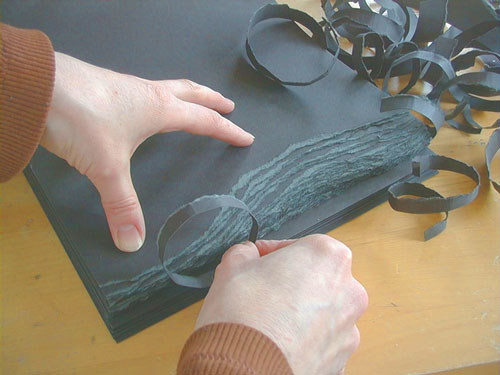
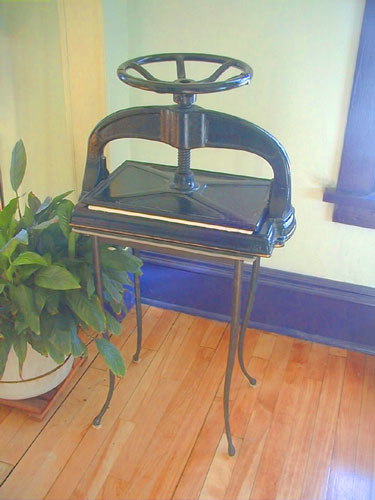
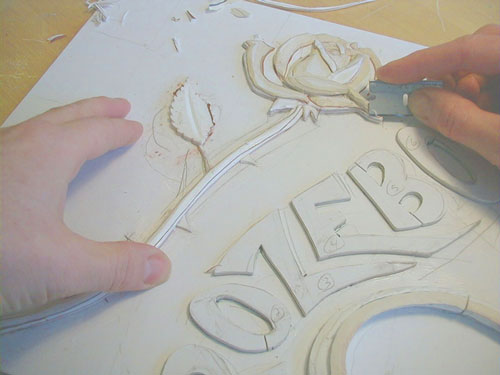
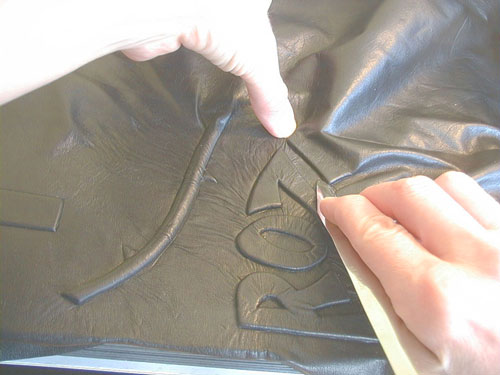
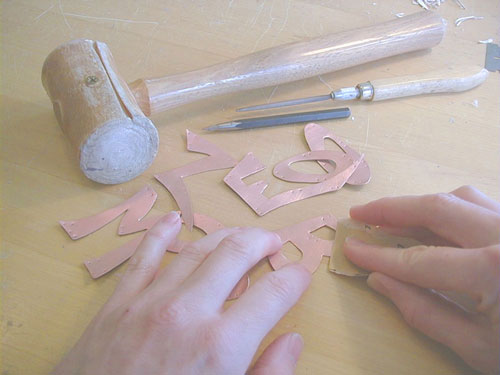
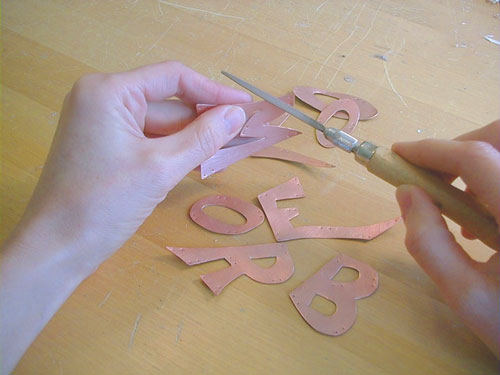
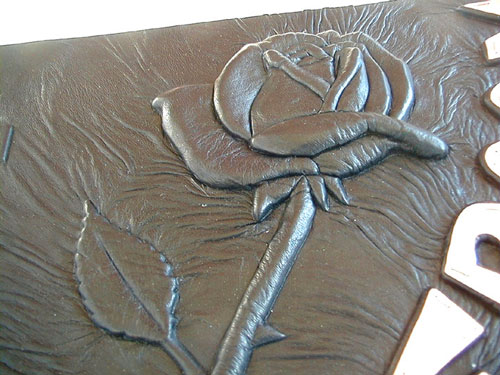
The Binding Process

A step-by-step binding process of making your ideas, memories, and values a creative reality.

Step 1

The Binding Process begins with full sized sheets of acid-free paper.  Therefore, your memories and photos will be preserved on fine quality pages.

(If arrows to next Step do not appear, click image)

Step 2

The paper is folded in half, or to a desired page width.

Step 3

The pages are now ready to be cut to size.

Step 4

Each folded sheet is cut to the desired page height.

Step 5

Subsequently, I now have a loose stack of properly sized pages.

Step 6

Next, the pages are placed in a clamp. I now cut shallow grooves along the spine, thereby creating a small hole in each page. These holes will line up with the binding cords.  Therefore, they act as guides for hand sewing with needle and thread.

Step 7

Pages are now stacked inside one another a few at a time.  Each stacking is called a Signature.  If the book is to be a Scrapbook or an Album, spacers are inserted into each signature at this time.  Consequently, these spacers will provide extra space along the spine so photos can be placed in the book.

Step 8

The signatures are now stacked and ready for binding.

Step 9

I sew each signature around leather cords.

Step 10

Each new signature is set on the previous one.  Likewise, they are each sewn, one at a time.  This continues until all signatures are sewn snugly together around the cords.

Step 11

The book is now bound together, so it is ready to be glued.

Step 12

Firstly, the book is placed in the clamp with a slight rounding to the spine. 

Step 13

Secondly, archival glue is brushed onto the spine.  Most importantly, it is glue made specifically for bookbinding.  Therefore, the spine will remain flexible and never crack.

Step 14

Thirdly, I hammer the spine starting at the center and working towards the edges.  This results in a tight and round spine.  Consequently, the end pages fold over a bit to accommodate the thickness of cover boards.

Step 15

Next, headbands are hand stitched onto the spine ends.  These will certainly serve to protect the spine edges.

Step 16

The headbands consist of a leather cord that is wrapped in two thread colors.

Step 17

The threads are sewn directly into the binding for strength and protection of the spine edges.  In other words, if the book is dropped it will act as a bumper.  Also, if a book it pulled from an upright position on a shelf by the spine end, it will serve as a handle.

Step 18

Thread colors used for the headbands are selected to coordinate with the leather exterior and final design.

Step 19

After that, I finish off the book’s paper edge.  The traditional method is to shave each page down, one at a time.  I do this with a razor blade while the book is clamped, thereby creating a smooth finish.

Step 20

Alternatively, I have developed my own method of edge finishing as well.  For instance, to achieve a sculpted deckled edge I hand rip each page.  This will result in a particular shape complementary to the book’s intended cover composition.

Step 21

Two or more layers of cover board are glued together and pressed beneath foam which is condensed under heavy pressure.  Most importantly, this makes for a flat and durable cover.

Step 22

A three-dimensional cover design is created by cutting and carving.  In the custom design shown here, a carved name and rose were requested, as well as a border which will frame a Harley-Davidson belt buckle.  The book will next be affixed to the coverboards with the leather binding cords.  In addition, the cover hinges will be reinforced with two layers of 55 pound tensile strength fabric for added durability and heirloom quality.

Step 23

The leather is glued to the cover with archival permanently flexible bookbinding glue.  This glue is applied in half inch sized sections.  Meanwhile, the leather is situated deep into each groove with small tools and until dry.  As a result, deep and sharp edges can be made.  This continues in tiny increments until the entire cover design is tightly covered under the leather hide.

Step 24

Sheet metal is hand cut into desired shapes and finished for use on the cover design. 

Step 25

For instance, the edges of the copper are sanded smooth with fine jewelry tools.

Step 26

After that, the copper is sealed.  Next, it is wired through the cover for permanent attachment.  The Harley-Davidson belt buckle has been attached.  Also, orange handmade paper was placed into the book as endsheets directly inside the covers.

Step 27

The rose is embossed, resulting in a three-dimensional leather sculpture.

Step 28

The cover is now complete.

Step 29

A 100th Anniversary Harley-Davidson emblem was turned into a leather page marker to complete the theme of this custom ordered album.  And finally, the last task in the binding process was to place the completed book in a press for 48 hours to assure perfectly flat covers.

Get in Touch


13 + 3 =

Exquisite Custom Leather Books